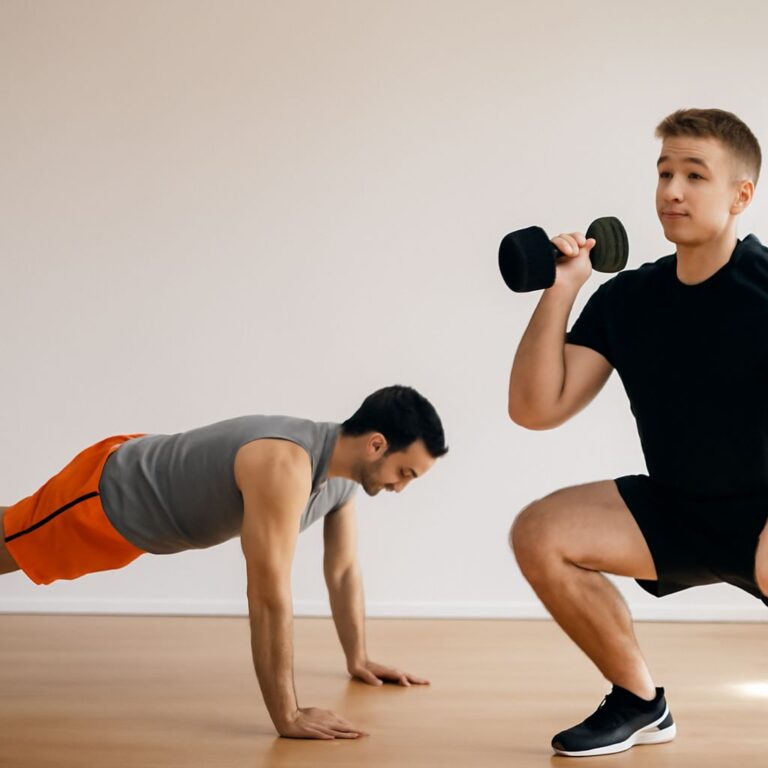
A controlled repetition keeps your chest and hips moving together; a rushed one can leave your hips sagging before your arms finish the press. To learn push-ups, choose a surface that lets you lower and rise smoothly, even if that means starting with your hands above the floor. The same basic setup applies at a wall, a sturdy counter or the floor.
Pushups: Set Up Your Hands and Body
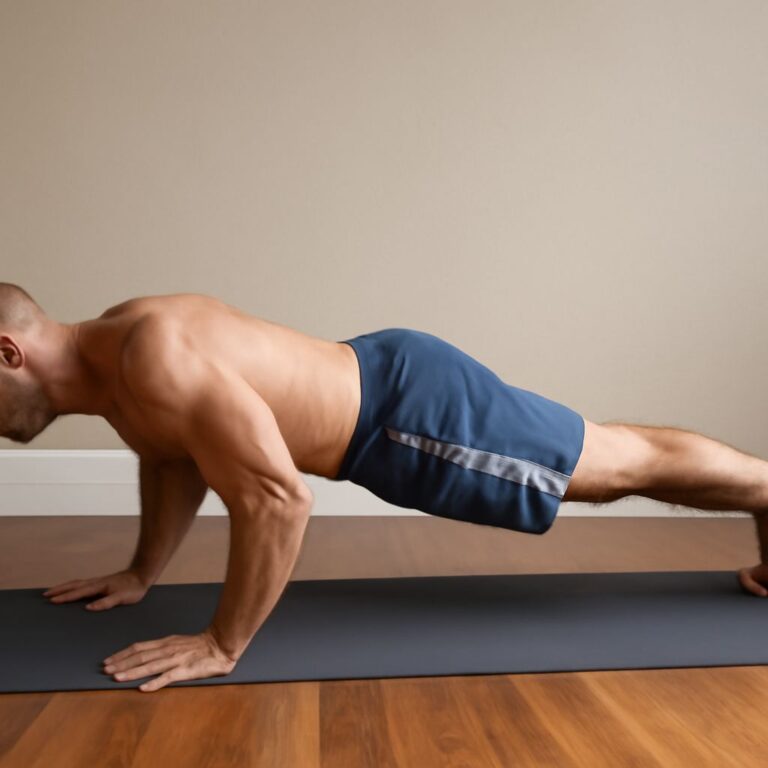
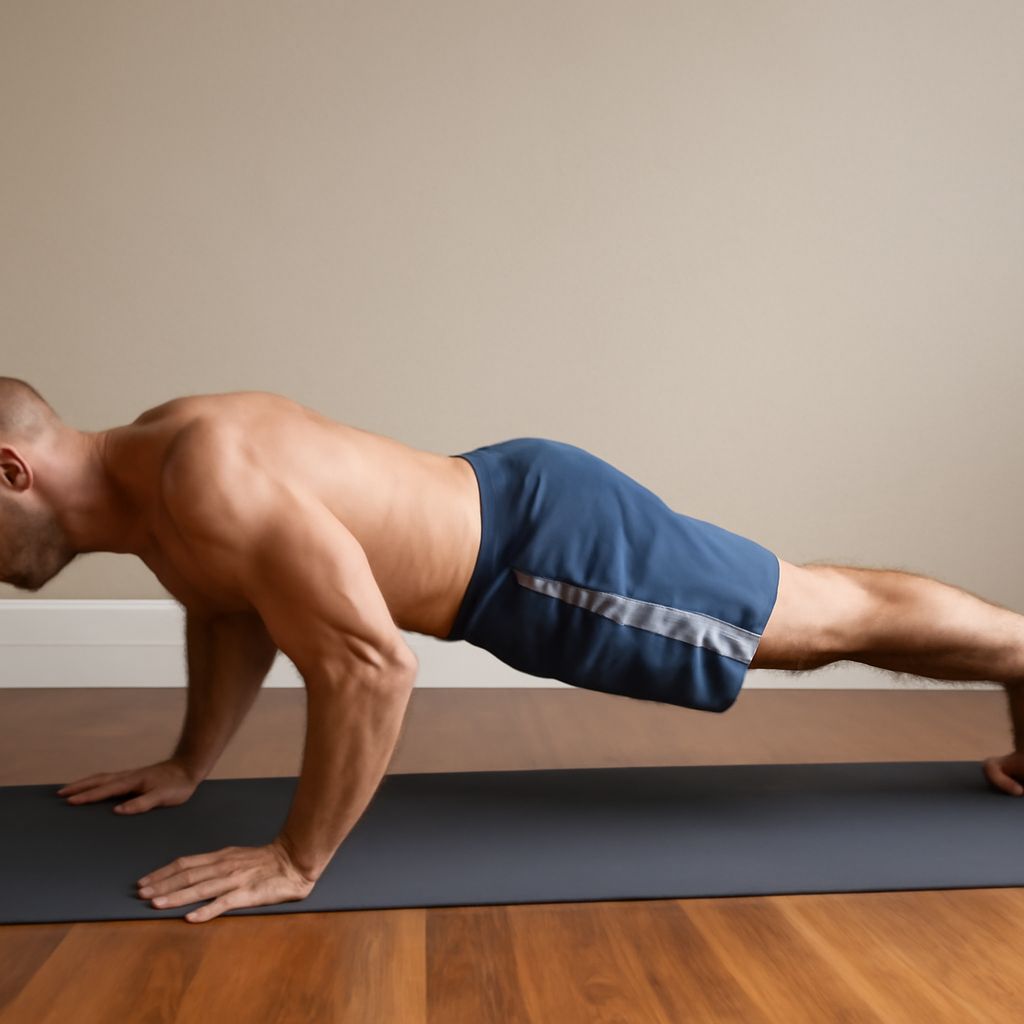
Begin on a firm, nonslip surface. Place your hands about shoulder-width apart or slightly wider, with fingers spread and pointing generally forward. Step your feet back until your shoulders are roughly over your hands. On the floor, support your lower body on your toes; at a counter or wall, keep your feet planted and lean into your hands.
Make a long line from your head through your hips to your heels. Gently tighten your abdomen and buttocks so your trunk stays steady. Look down at a spot just ahead of your hands, keeping your neck in line with your back. Your shoulders should feel supported, not lifted toward your ears.
Before bending your elbows, take a breath and check that your hands and feet feel secure. If the starting position causes wrist discomfort, try a higher surface and adjust your hand angle slightly. Stop if pain persists and seek advice from a qualified professional.
Lower and Press With Control
Follow these steps for the push up exercise:
- Inhale as you lower. Bend your elbows and let your chest move toward the surface. Keep your body moving together instead of dropping your hips first.
- Choose a comfortable depth. Lower as far as you can while maintaining control. Your chest does not have to touch the floor on your first attempt.
- Exhale as you press. Push through your palms and straighten your elbows to return to the starting position. Keep your abdomen engaged so your hips and chest rise together.
- Reset before the next repetition. Check your hand position and take another breath. Continue only while you can repeat the movement smoothly.
A pushup uses the chest, shoulders and backs of the upper arms, while the trunk and legs help maintain position. The press should feel like one coordinated movement. Avoid holding your breath or dropping quickly into the bottom; a steady descent makes it easier to notice when your form begins to change.
For floor push ups, imagine the floor moving away from you as you press. Let your elbows bend at a comfortable angle beside your body rather than forcing them straight out to the sides. Individual arm and shoulder positions vary, so adjust within a range that feels controlled and comfortable.
Choose the Right Support
For pushups, the height of your hands changes the difficulty. A wall is a convenient place to learn the motion with less body weight through the arms. A stable counter or bench brings you closer to the floor and increases the challenge. Check that the surface cannot move, tip or slide, and that your hands have enough room to stay flat.
A knee-supported push-up is another option. Place your hands on the floor and your knees on a padded surface, then form a line from your head through your hips to your knees. Lower and press using the same controlled movement. Avoid bending at the hips to make the upper body move independently.
Choose the version that allows several smooth repetitions with a consistent body line. When that becomes comfortable, try a slightly lower hand support or a few repetitions on the floor. You can return to the higher surface to complete the set if your technique changes. Progress is a change in control as well as a change in surface height.
Notice and Correct Common Problems
- Hips sag: Tighten your abdomen gently and use a higher support. If you cannot hold the body line from the start, reduce the difficulty before continuing.
- Hips rise early: Think about moving your chest and hips together. Shorten the depth or pause at the top to reset your position.
- Elbows flare and shoulders feel uncomfortable: Bring the elbows somewhat closer to your sides and check that your hands are not placed excessively wide. Stop if discomfort continues.
- Head drops or reaches forward: Look at the surface just ahead of your hands and keep your neck aligned with your trunk.
- Repetitions become abrupt: Slow the lowering phase and stop the set when you can no longer press back up smoothly. Rest before trying again.
A mirror viewed from the side or a brief video can help you check whether your body stays aligned. Use a short set of three to five repetitions to practice, then rest. As the movement becomes familiar, add repetitions only while you can keep the same control.
If your hips begin to sag near the end of a set, that is your cue to stop. On the next set, raise your hands to a stable surface or do fewer repetitions so your chest and hips can move together throughout.